In the last six parts of our blog series, you've already learned all the important basics about self-sufficient power supply in your vehicle – from power requirements and battery types to solar technology and inverters, as well as safe charging options and proper wiring. In this final part, we'll summarize the key points for you and give you specific advice on cost calculation and the question: Should you do it yourself or have it installed by a professional?
Whether you're traveling in a campervan on weekends, living full-time in a van, or simply want to be more independent in a motorhome – with a cleverly planned system you are self-sufficient, safe and prepared for any travel situation.
Your electricity needs – The starting point of every plan
Before you delve into the technical aspects, you should know how much electricity you actually consume. The simplest method: Make a list of all the devices you plan to use daily – including their power consumption (in watts) and usage time (in hours). This will give you your daily consumption in watt-hours (Wh).
Example fuel consumption for everyday camper use:
- LED light (10 W, 5 h): 50 Wh
- Cooler box (40 W, 12 h): 480 Wh
- Laptop (60 W, 3 h): 180 Wh
- Water pump (30 W, 0.5 h): 15 Wh
- Smartphone (10 W, 2 h): 20 Wh
- Total: approx. 745 Wh per day
If you want more conveniences (e.g., an induction cooktop, coffee maker, e-bike charging), your energy consumption will increase accordingly. The season and outside temperature also play a role. Heating or more lights in winter increase your energy needs. If you're interested in how to accurately determine your electricity consumption, what rules of thumb exist, and how different appliances affect everyday use, then take a look at Part 1 of our blog series. There you'll find all the basics and many helpful tips about electricity consumption in your camper.
The components – What do you really need?
A self-sufficient power system typically consists of these components:
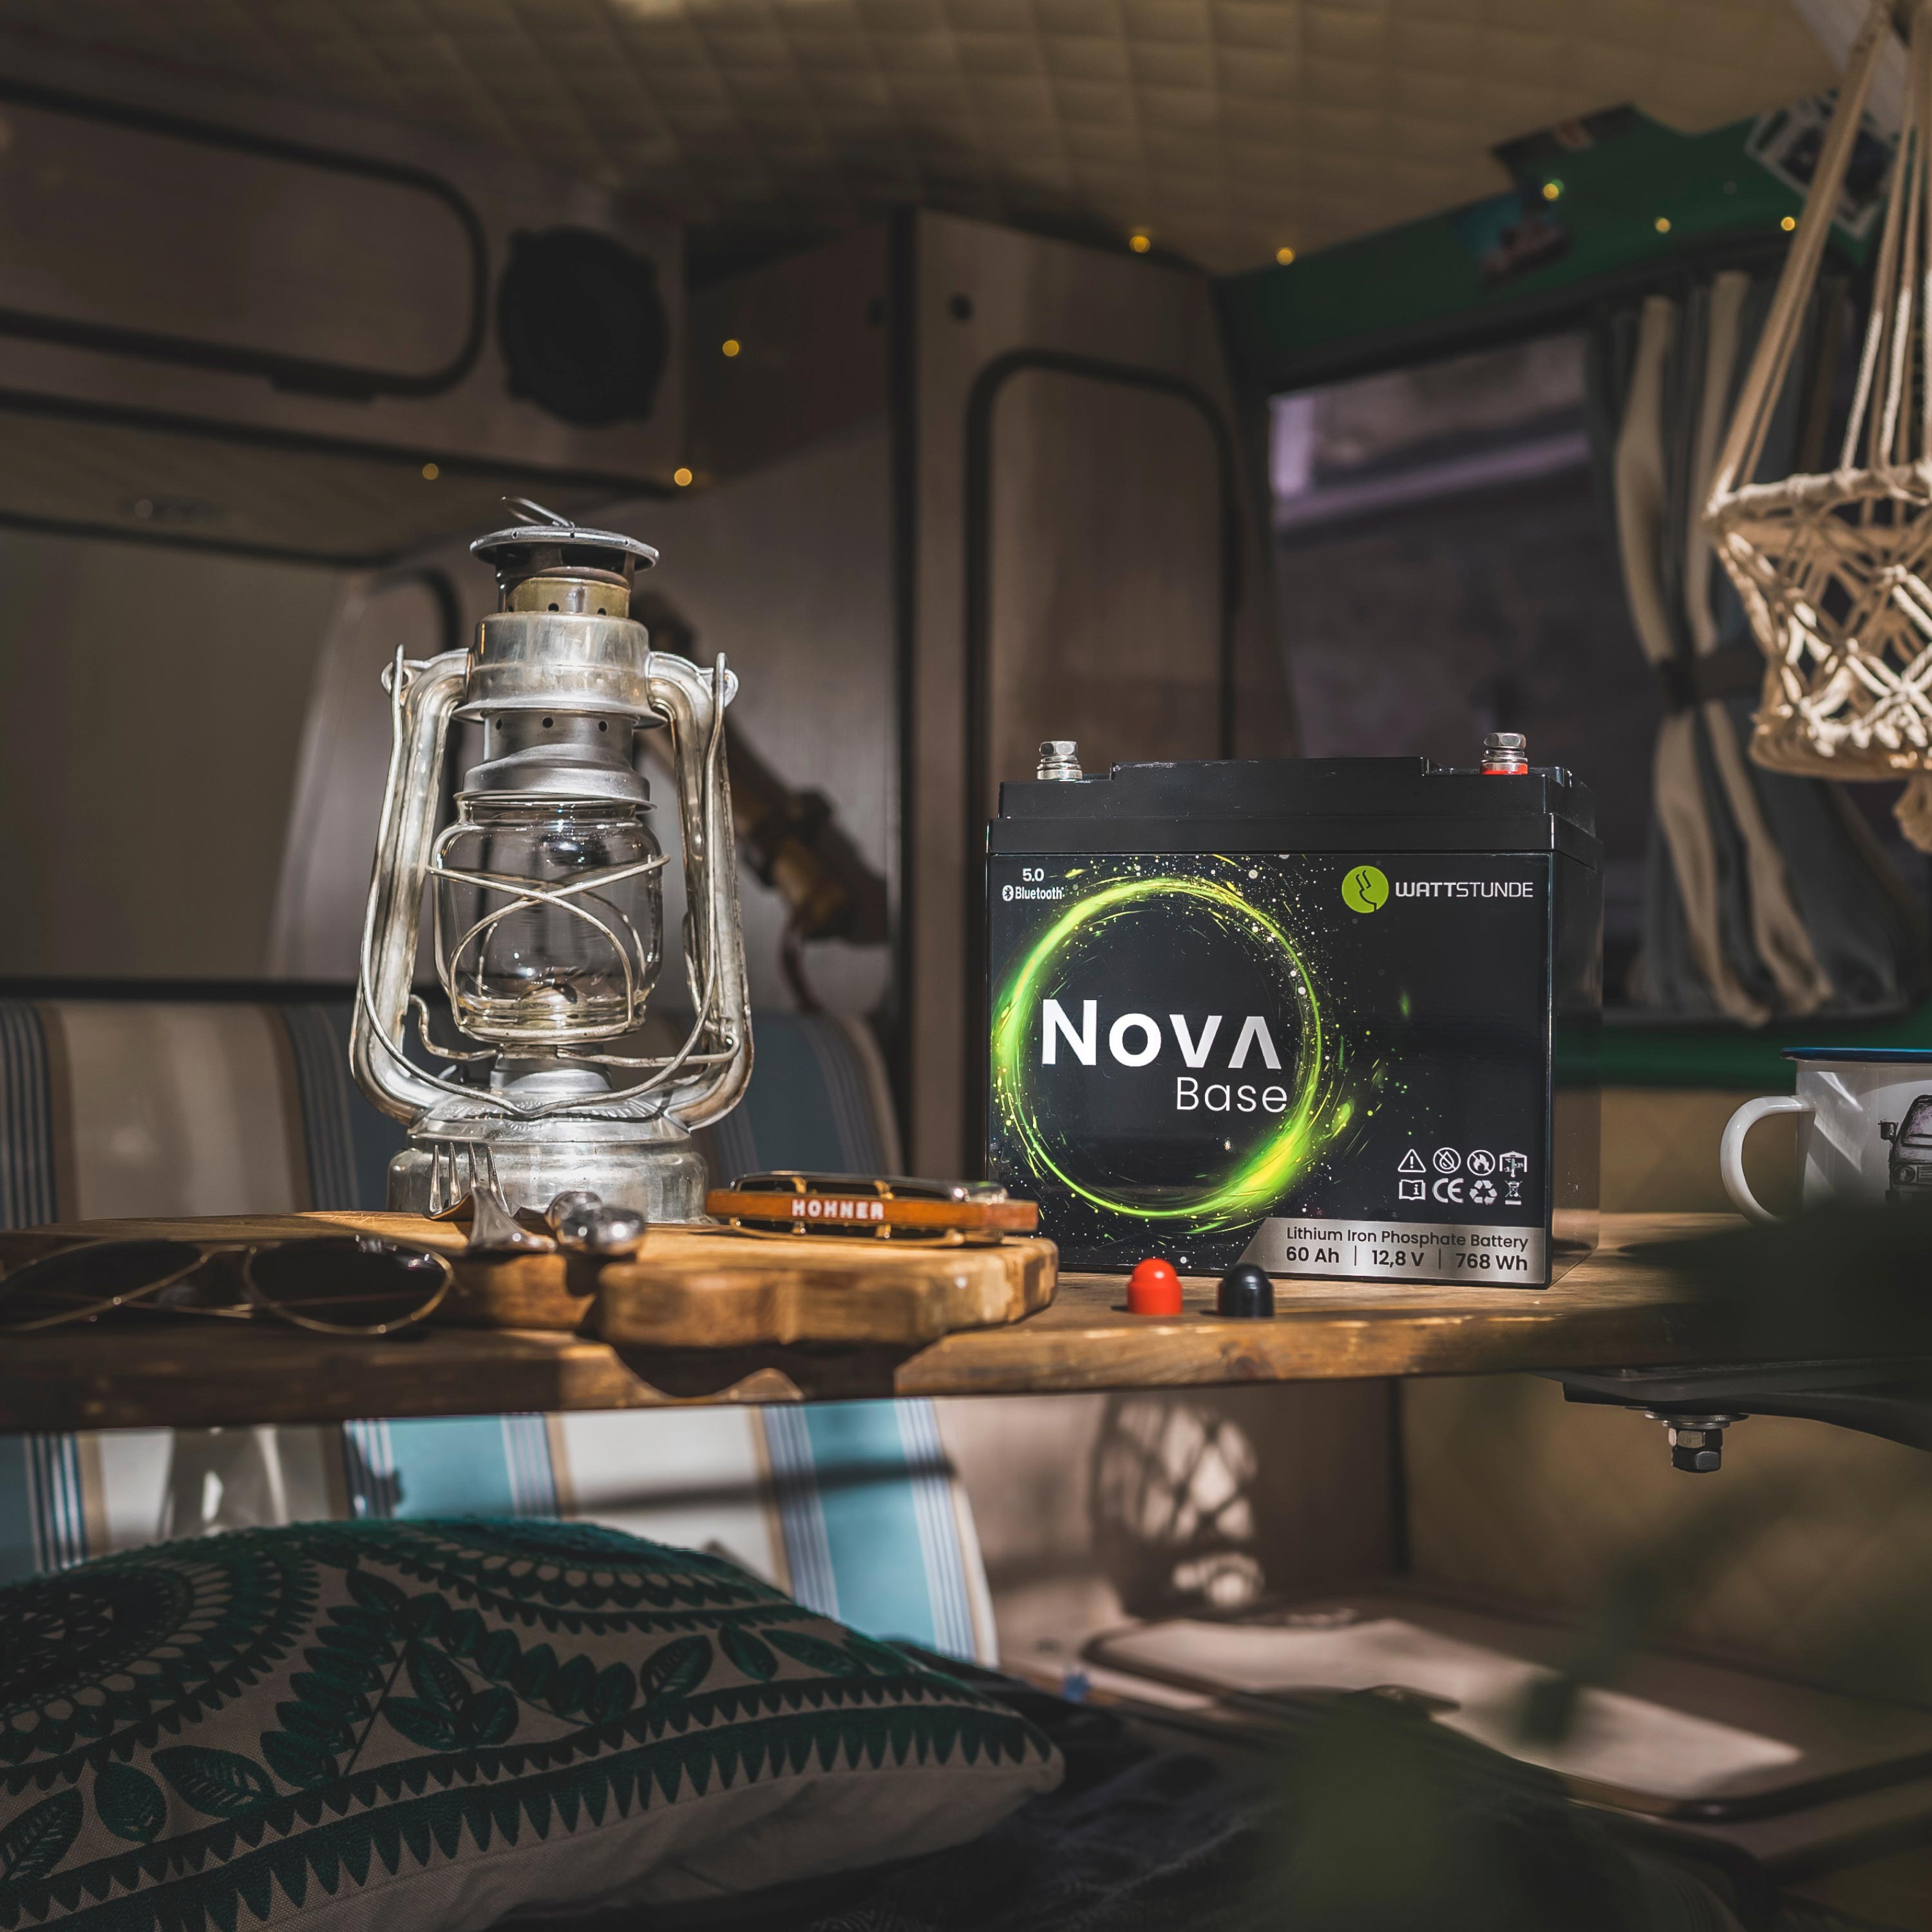
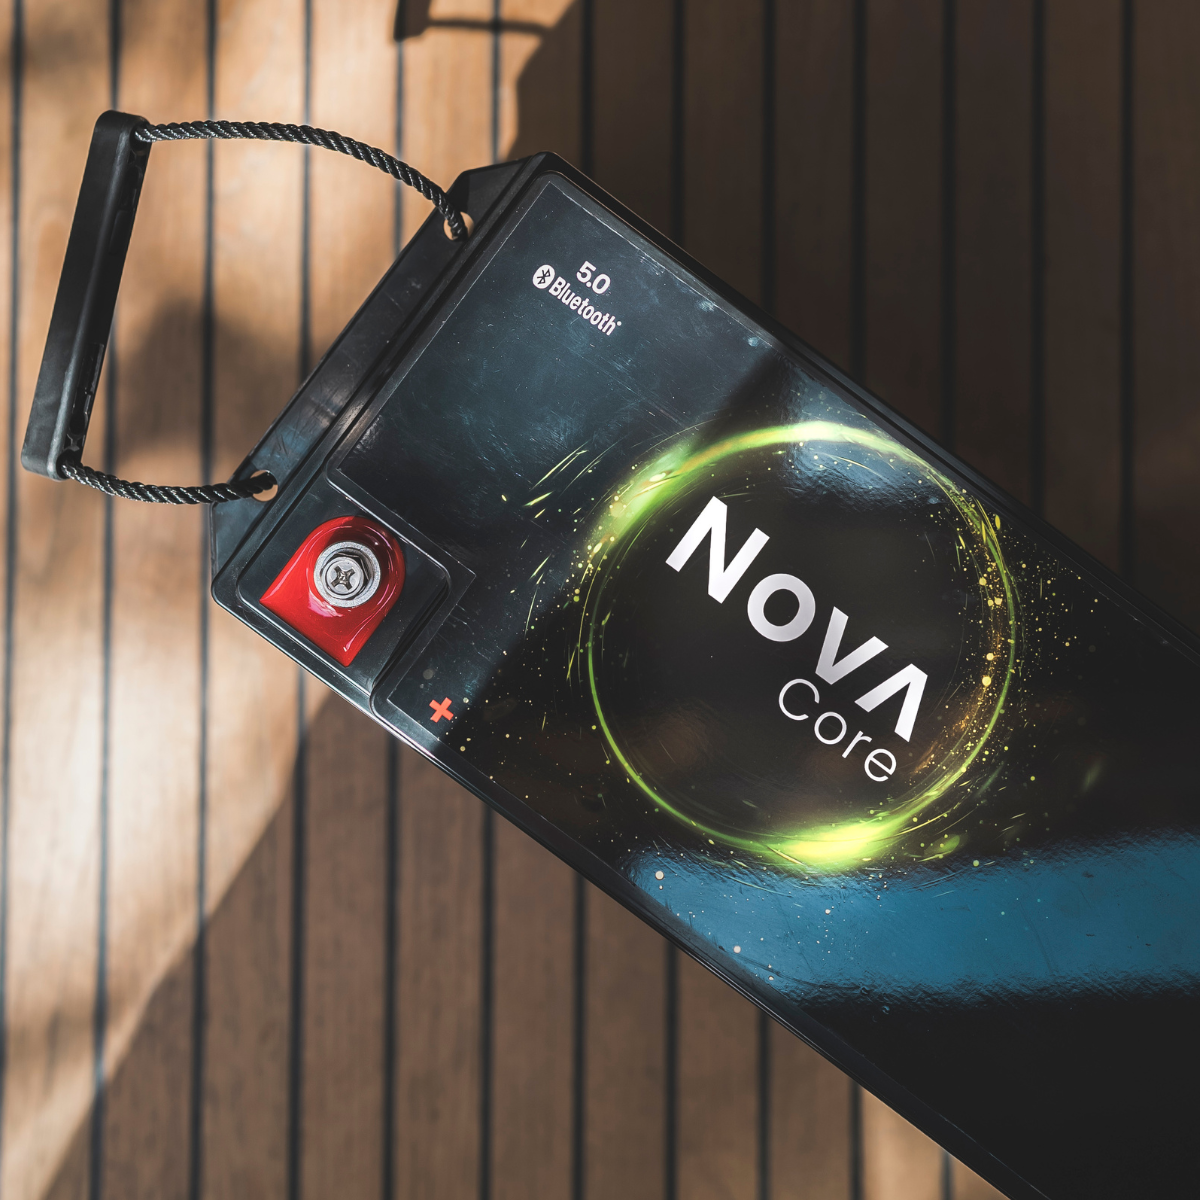
- Power supply battery (e.g., lithium, AGM): stores your electricity
- Solar system: provides you with energy during the day
- Power-to-point charge controller (MPPT): regulates the current flow from the modules to the battery
- Inverter: converts 12V DC to 230V AC
- Charging booster & shore power connection: for additional charging on the go or at the campsite
- Fuses, cables, disconnect switches: for safety & protection
The design and dimensions you need depend on how much you consume, how long you want to be able to go without recharging, and how much space and budget you have.
Solar panels & charging technology – The basis for efficient power generation
If you're using solar panels on your vehicle or in your off-grid system, choosing the right modules and charging technology is crucial. There are two main types of solar modules commonly used in practice: monocrystalline and polycrystalline solar modules.
- Monocrystalline solar modules are characterized by high efficiency (up to 22%) and are particularly space-saving. They offer good performance even in low light conditions and are the best choice for applications with limited space, such as on vehicle roofs. These modules are durable and offer a modern, aesthetically pleasing design.
- Polycrystalline solar modules are less expensive, but have a lower efficiency (usually 15–18%) and require more surface area for the same power output. They are ideal for applications where space is not a concern and budget is a primary concern, such as in stationary systems.
Besides choosing the right module, the charge controller is also crucial. There are two main types:
- PWM (pulse-width modulation) charge controllers are less expensive and suitable for smaller systems with well-matched solar panels and battery voltages. They are easy to use but less efficient, as they convert excess energy into heat.
- MPPT (Maximum Power Point Tracking) charge controllers offer significantly higher efficiency because they optimize the voltage of the solar panel and can convert excess energy into additional charging current. They are particularly advantageous in larger or more powerful systems and under varying light conditions.
To calculate solar power output, you should determine your daily electricity consumption and compare it to the output of the solar panels. As a rule of thumb, 100 Wp solar panels in Central Europe deliver approximately 350 Wh per day. For higher consumption or poor weather conditions, you should plan for a larger buffer and adjust the solar power output accordingly.
With the right combination of solar panels, charge controller and optimized power, you can ensure that you have a reliable and efficient power supply even when you're on the go.
Power conversion with an inverter – The right choice for your 230V devices
If you want to operate devices like your laptop, coffee maker, or other household appliances that run on 230V while traveling, an inverter is essential. The inverter converts the direct current (DC) coming from the vehicle's battery into alternating current (AC) – allowing you to use devices that are normally plugged into a wall socket at home.
There are two main types of inverters, each with its own advantages and disadvantages:
- Pure sine wave inverters produce a smooth and clean sine wave, just like the electricity from a wall socket at home. This type of inverter is especially important if you want to operate sensitive devices such as laptops, coffee makers, or audio equipment, as these require a stable power supply to function reliably and without damage.
- Modified sine wave inverters are cheaper, but they produce a more irregular waveform. These are less suitable for devices with sensitive electronics, but can be sufficient for simple appliances like space heaters or power tools. The rule of thumb is: if you want to be on the safe side and protect your devices in the long term, you should choose a pure sine wave inverter.
The inverter's power output is also an important factor. You should calculate the required power based on the devices you intend to operate simultaneously. Remember to also consider the inrush current, as some devices require more energy when switched on than during operation.
The installation of the inverter is also crucial for the efficiency and safety of the system. Ensure that the inverter is properly fused, that the cables are of the correct gauge, and that the inverter is installed in a well-ventilated location to prevent overheating. Furthermore, all connections should be kept as short as possible to minimize power loss.
Charging on the go – Flexible and reliable even in bad weather
For true independence while traveling, it's important that you can charge your onboard battery not only with solar energy but also with other charging options. Especially in cloudy weather, solar panels alone are often insufficient to reliably charge the battery. Therefore, you should consider other ways to charge your battery:
- Charging with the alternator and a charging booster: When you're on the road, the alternator typically charges the vehicle battery. By using a charging booster, you can also efficiently charge your auxiliary battery. The charging booster ensures that the alternator's output is optimally converted to achieve the correct charging voltage for your battery – especially important for modern lithium batteries. A charging booster allows you to charge quickly and efficiently, even on short journeys, and ensures a stable voltage, even with fluctuating alternator output.
- Shore power & mains power: At campsites or during longer stays, you can conveniently charge your battery using shore power. With a mains charger, you can not only charge the battery but also operate 230V devices directly. If you frequently rely on shore power, a permanently installed system with automatic switching between charging and inverter functions is a convenient solution.
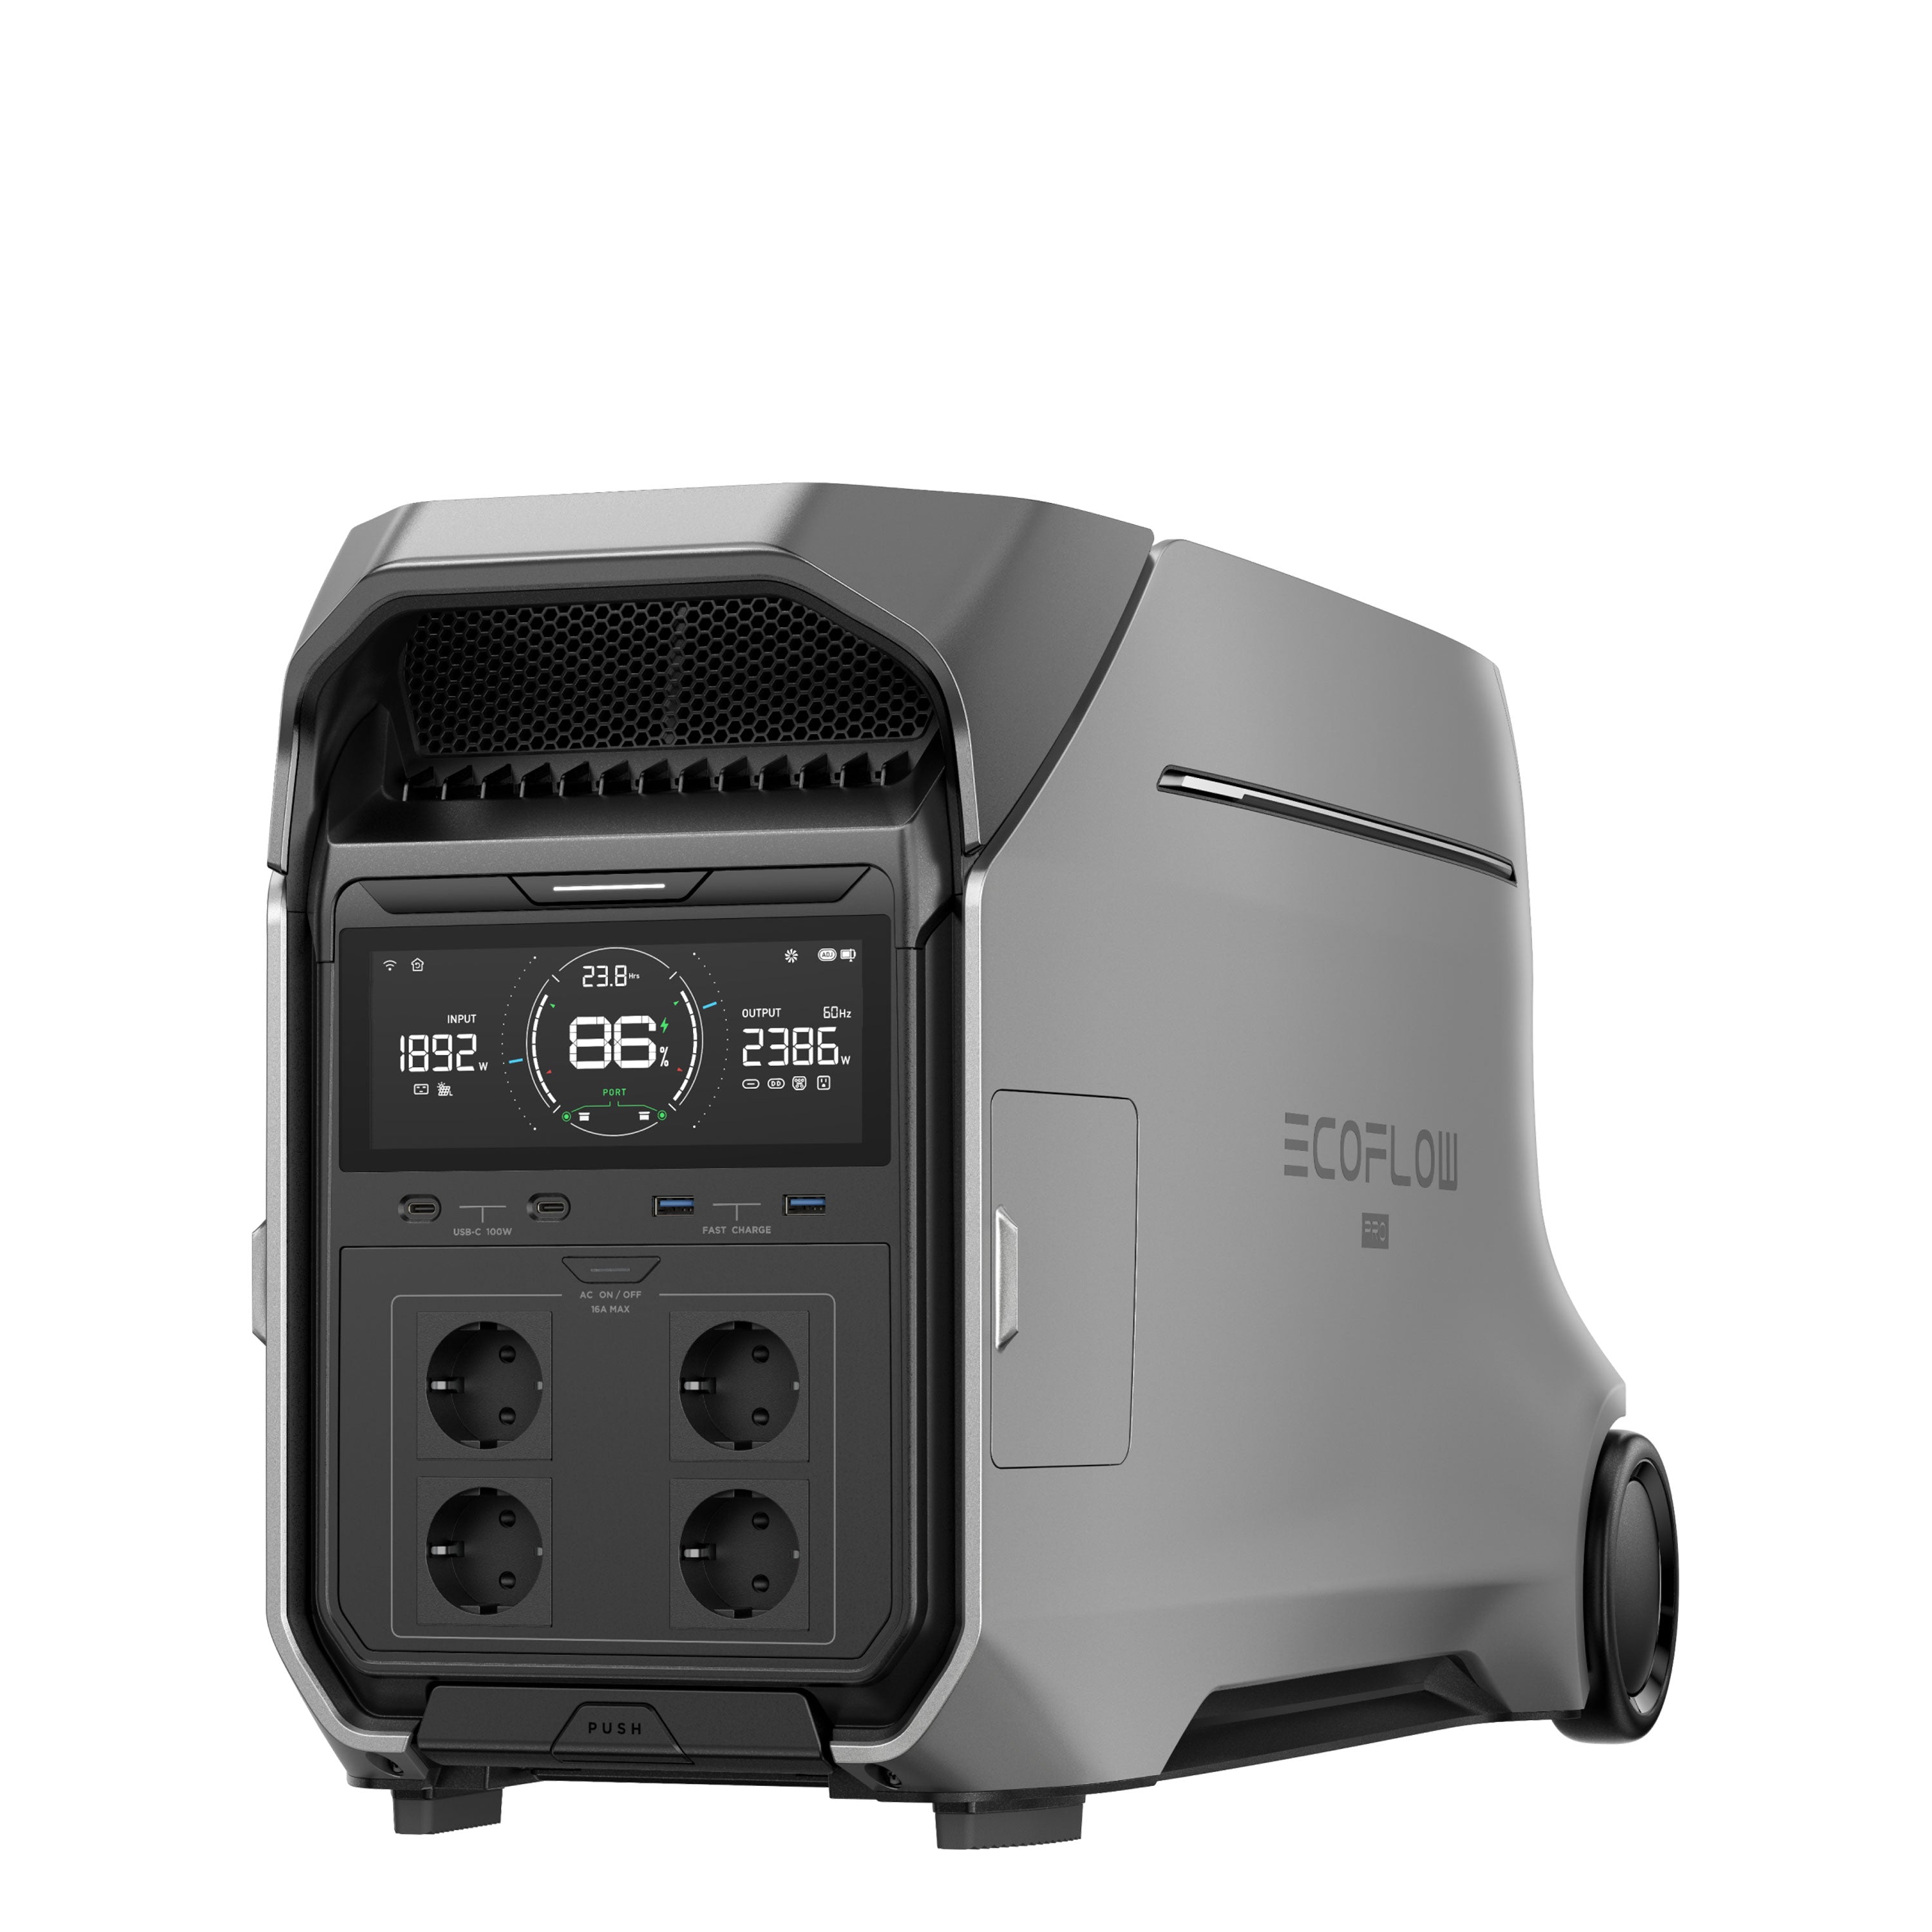
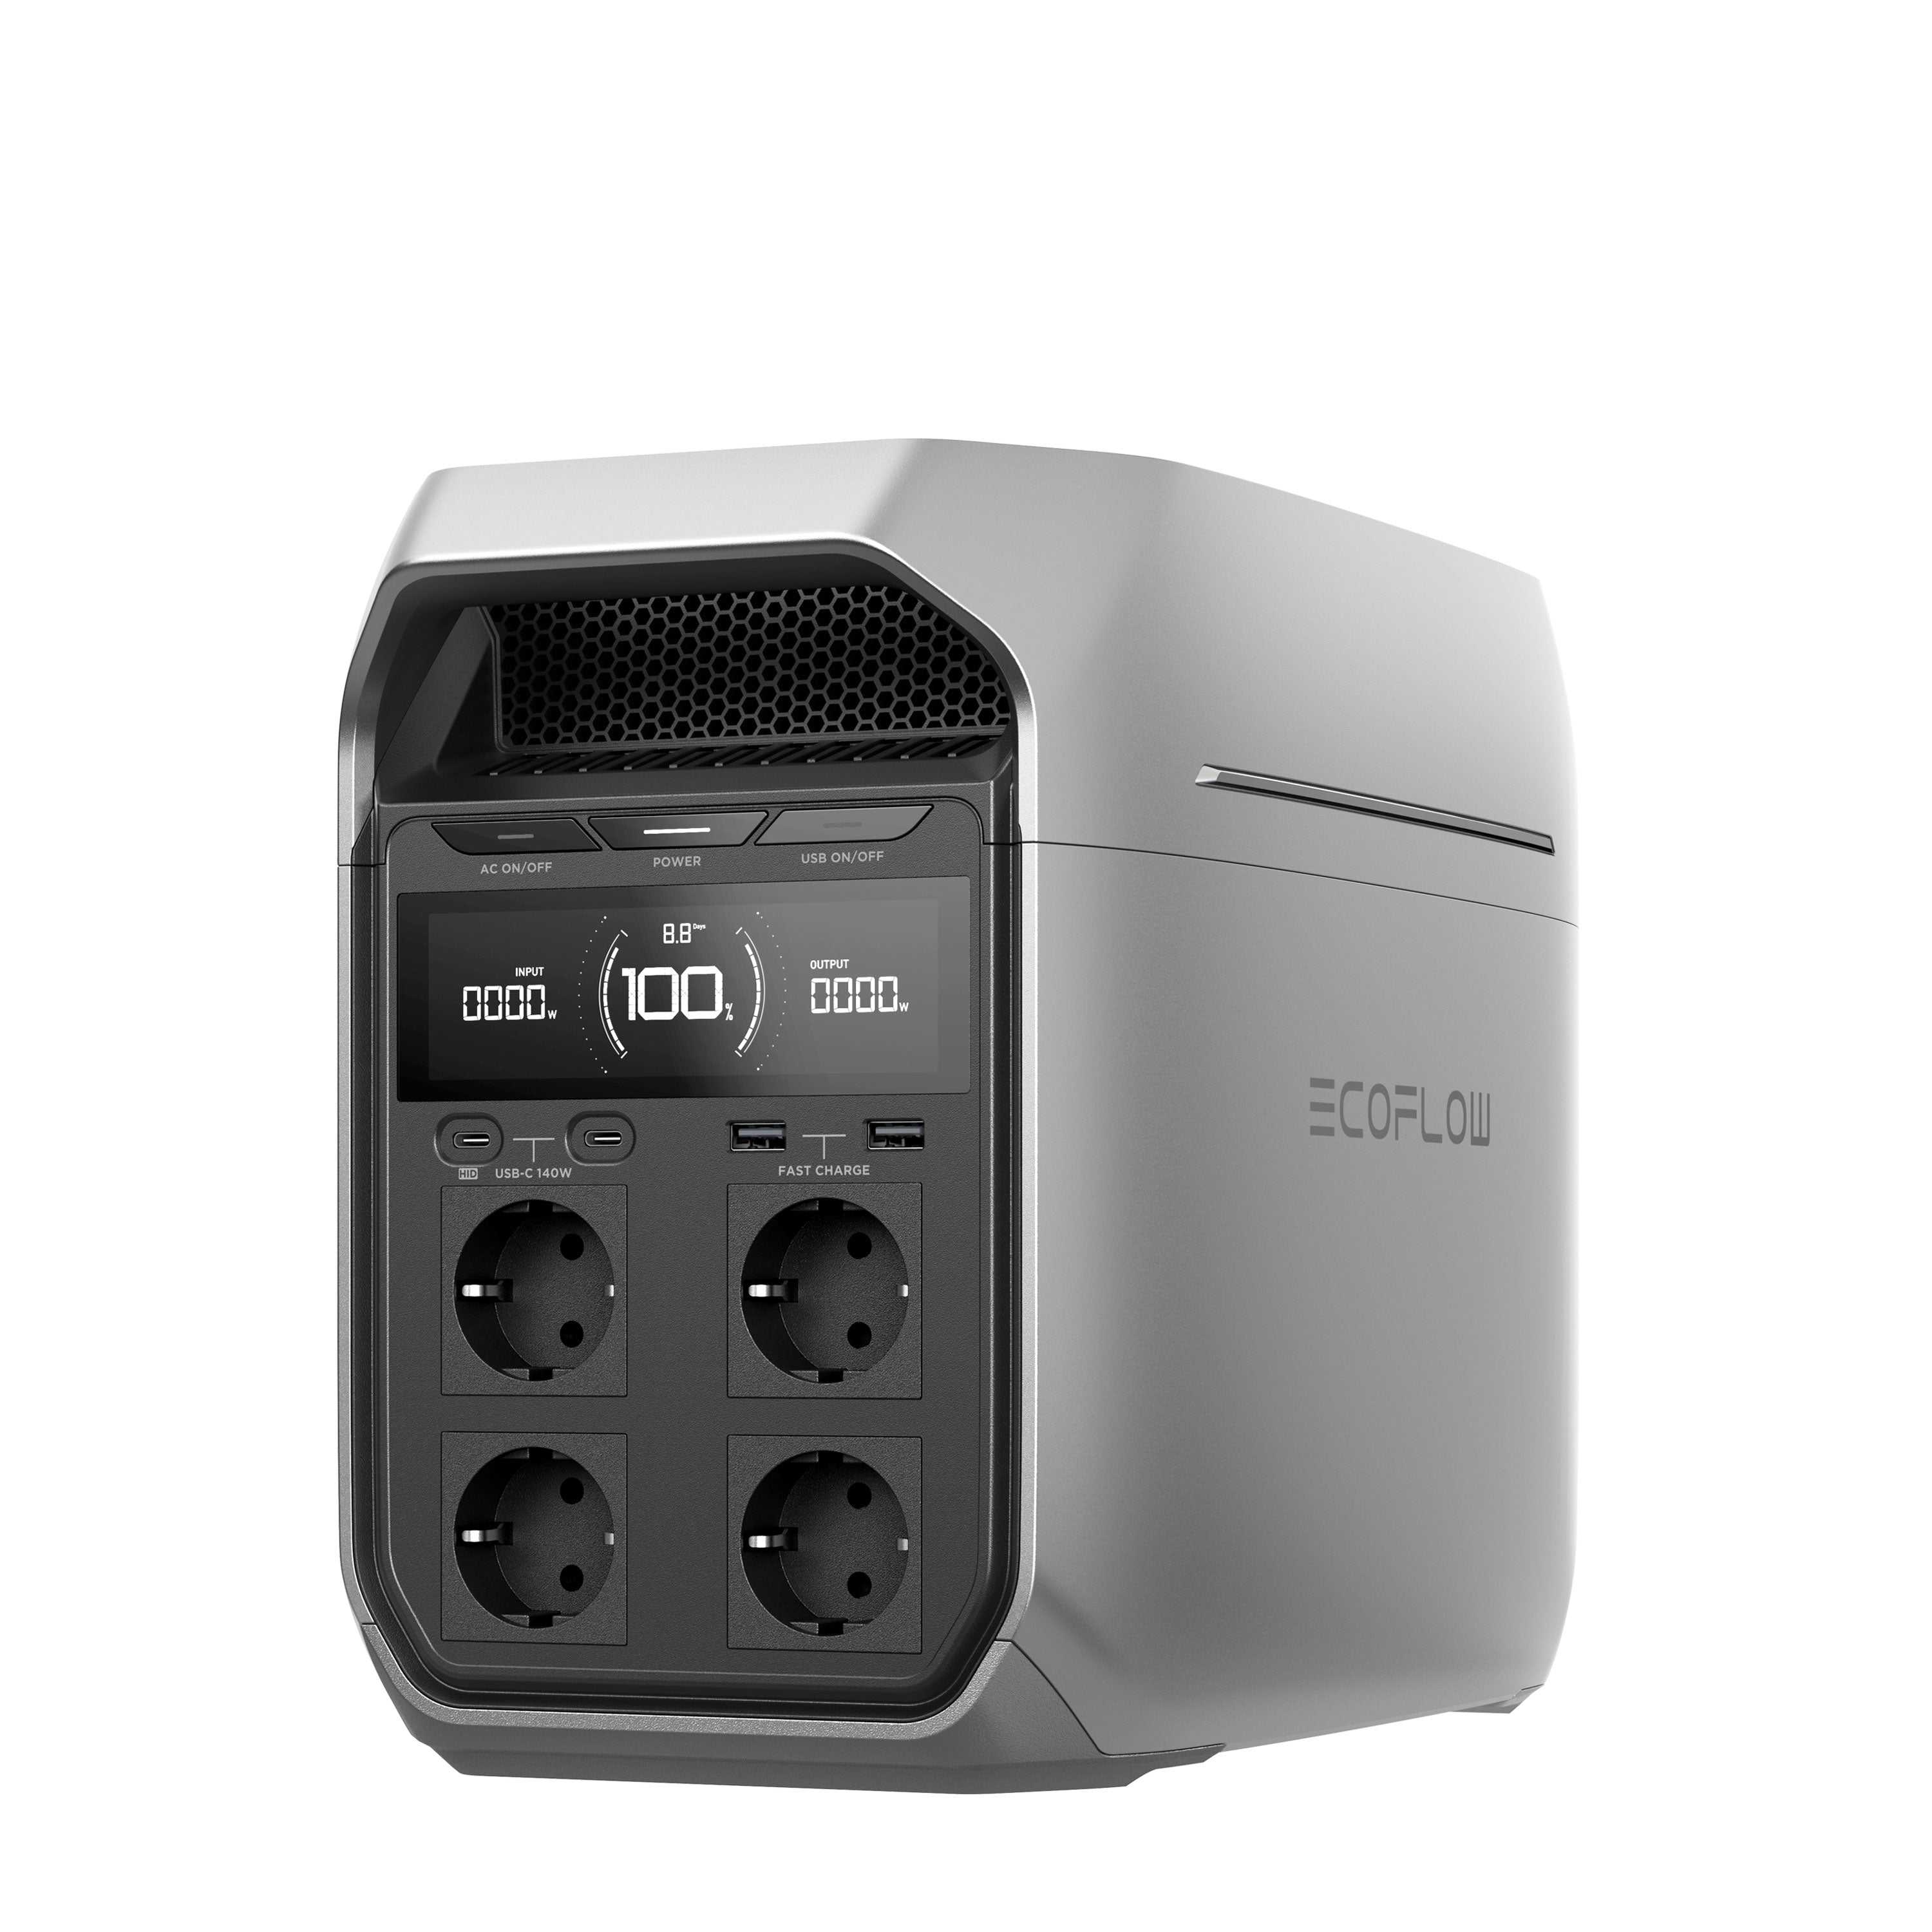
- Mobile power stations: For maximum flexibility, mobile power stations offer a backup solution. These devices combine a battery storage system with an inverter, allowing you to operate your 230V devices flexibly. They can be charged via solar, 12V, or 230V mains power and provide an ideal solution for weekend trips, working on the go, or as an emergency power supply during bad weather.
- Alternator Charger: A newer solution is the EcoFlow Alternator Charger, which uses the alternator to charge a mobile power station while driving. This solution offers a fast and efficient way to charge the power station without relying on external power sources.
A combination of a charging booster, shore power, power station, and, if necessary, an alternator charger ensures a reliable and flexible power supply on the go. This way, you remain self-sufficient and well-prepared, regardless of cloudy weather, long periods of inactivity, or spontaneous adventures.
Security & Cabling – How to protect your system
Proper wiring is the backbone of your camper's power supply, and a safe installation is essential to avoid hazards such as short circuits, cable fires, or system failures.
- Cable cross-section: A frequently underestimated but crucial factor. A cable cross-section that is too small leads to increased resistance, which can result in power losses and, in the worst case, overheating of the cables. When choosing the cross-section, you should consider both the current and the cable length. For high-current devices such as inverters, it is essential to calculate the cable cross-section precisely to ensure a reliable power supply.
- Fuses: Every circuit directly connected to the battery should be protected by a fuse to prevent overheating or fire in case of a fault. ANM or MIDI fuses are ideal for high-current circuits, while blade fuses are suitable for smaller loads. Circuit breakers offer a convenient way to quickly resolve overcurrent situations by tripping automatically and resetting at the push of a button.
- Disconnect switch: A disconnect switch separates the battery from the electrical circuit in an emergency, which is particularly important for maintenance work or in the event of accidents. It should be mounted in an easily accessible location to allow for a quick response.
- Fire protection: To prevent cable fires, cables should be laid in protected locations – for example, in cable ducts or corrugated conduits. Avoid chafing and ensure that cables are not laid on hot surfaces or in damp areas. Regularly checking the connections and preventing overcharging by using intelligent charge controllers is also important to protect your battery from overload.
Safety comes first: To protect your equipment and vehicle from hazards, careful wiring with the correct fuses, disconnect switches, and fire protection measures is essential. With proper planning and the right materials, you create the foundation for a reliable and safe power supply on the go.
What fits your vehicle?
Not every system fits every vehicle. Therefore, you should consider the following when planning:
- Vehicle size and installation space: Where does the battery fit? Do the solar panels have enough surface area?
- Weight: Especially with panel vans and campervans with a 3.5 t limit, every kilo counts.
- Accessibility & Maintenance: Can you easily reach fuses, switches and connections?
- Integration into the existing system: Is there already an electrical system in place, or are you planning everything from scratch?
Additional requirements apply to off-road vehicles or boats (vibration, splashing water, temperature fluctuations).
Example system planning: Self-sufficient setup for 1,000 Wh consumption per day
Let's assume your daily electricity consumption is around 1,000 Wh and you want to be self-sufficient for 3 days without recharging. This results in the following example system:
- Battery capacity: 3 x 1,000 Wh = 3,000 Wh → for a 12 V system approx. 250 Ah lithium battery (round up to 300 Ah with reserve)
- Solar power: 1,000 Wh ÷ 5 hours of sunshine = 200 W → with reserve: 300–350 Wp solar
- Inverter: at least 1,000–1,500 W (depending on device usage)
- MPPT charge controller suitable for solar power (e.g. 100/30)
- Size cable cross-section, fuses, and disconnect switches as required.
- Optional: Charging booster for alternator charging + shore power connection for emergencies
This configuration allows you to be completely self-sufficient in good sunlight and to work, cool, charge and cook during the day.
Don't feel like calculating it yourself? Click here to use our solar calculator:
https://solarkontor.de/Solarkontor-Solarrechner
How much does a self-sufficient power system cost?
Naturally, the price depends on the chosen setup. Here's a rough overview:
- Entry-level setup (approx. €500–1,000): small battery (AGM), flexible solar bag, USB power consumers
- Mid-range (1,500–2,500 €): Lithium battery, fixed solar system, MPPT, small inverter
- Comfort setup (from €3,000): large lithium battery bank, 300W+ solar panel, charging booster, 2000W+ inverter, professional cabling
With good planning and some DIY work, you can save a lot – but quality in batteries, inverters, and safety features is always worthwhile. It's also important to note that this is just a rough guideline. It's always better to calculate your exact needs and then select the products accordingly!
DIY or professional service – which is better?
Do it Yourself:
- It costs less, but requires technical understanding.
- Perfect if you want to know your system inside and out.
- Warning: Mistakes can be costly and dangerous (cable fire, device failure)
Installation by a specialist company:
- More expensive, but safe and professional.
- Ideal for complex setups or high power output
- Often warranty on installation & components
Tip: If you're unsure, you can also plan in a hybrid way – do the shopping and design yourself, and have a professional install it.
Your individual system – well planned, reliably implemented
With the right knowledge and a little planning, you can put together a self-sufficient power system that perfectly suits you, your vehicle, and your travel plans. From the initial energy consumption list to the final safety measures, every step is important – and the better you think it through, the more reliable your power supply will be on the road.
Whether DIY or with professional support: Your "independent travel" project starts right here.
Thank you so much for reading our 7-part blog series to the end!
We hope that our articles have given you valuable insights, practical tips, and above all, inspired you to create your own self-sufficient power system.

