Your camper's power supply is ready – but is it safe? In part 6 of our blog series, we'll show you how to plan your electrical installation to be not only efficient, but also safe and long-lasting. Whether it's a solar system, battery, or inverter – without the proper wiring and protection, the worst-case scenario can be a short circuit, cable fire, or total failure.
To prevent this from happening to you, we'll provide you with the necessary know-how: from choosing the right cable cross-section to circuit breakers, fuses, and practical tips for increased safety in your van, motorhome, or off-road vehicle.
Cables in campers – Why the cross-section is crucial
Many electrical problems in campers aren't caused by faulty devices, but by an underestimated component: the cable itself. Especially when building or retrofitting, the importance of the correct cable cross-section is often overlooked. Yet it's a central element of any power supply. A cross-section that's too small leads to increased electrical resistance, which not only leads to power losses but, in the worst case, can cause the cables to overheat. This creates a serious fire hazard, even with short-term use of high-current devices such as inverters or compressors.
What cable cross-section do you need?
The choice of cable cross-section depends on two factors: current (amperes) and cable length. The farther the current must flow, the more resistance it creates—which means thicker cables for longer distances!
🔧 Example calculation:
A 1000 W inverter draws approximately 83 A at 12 V. To calculate the required cable cross-section, you can use the following formula:
Formula:
Cable cross-section (mm²) = (2 × L × I × 0.0175) ÷ ∆U
Explanation:
- L = cable length in meters (outward and return path together)
- I = current in amperes
- 0.0175 = specific resistance of copper (Ohm·mm²/m).
This value indicates how much copper impedes the flow of electrical current. The lower the value, the better the material conducts. Copper has a very good conductivity, which is why it is used almost exclusively in on-board electrical systems. The value of 0.0175 is a common average value used for calculating voltage losses in cables. - ∆U = maximum voltage drop in percent. This value indicates the maximum voltage you are willing to lose on the line due to the cable's resistance without affecting your devices. For campervans, we recommend a voltage drop of 1–5%, although in this example, we assume 3% to ensure reliable power supply to devices while maintaining safety margins. The more sensitive the device or the shorter the cable, the lower the voltage drop should be. The 3% represents a practical compromise between efficiency, safety, and cost-effectiveness.
Calculation example:
- L = 4 m (2 m there + 2 m back)
- I = 83 A
- ∆U = 3% of the system voltage value (i.e. 0.36 V for a 12V system)
Cable cross-section = (2 × 4 × 83 × 0.0175) ÷ 0.5 = 38.64 mm²
In this case, you should use at least a 35 mm² cable , or better still 50 mm² , to allow for safety reserves.
🔧 Tip: Use a cable cross-section calculator or the table from your component manufacturer to calculate.
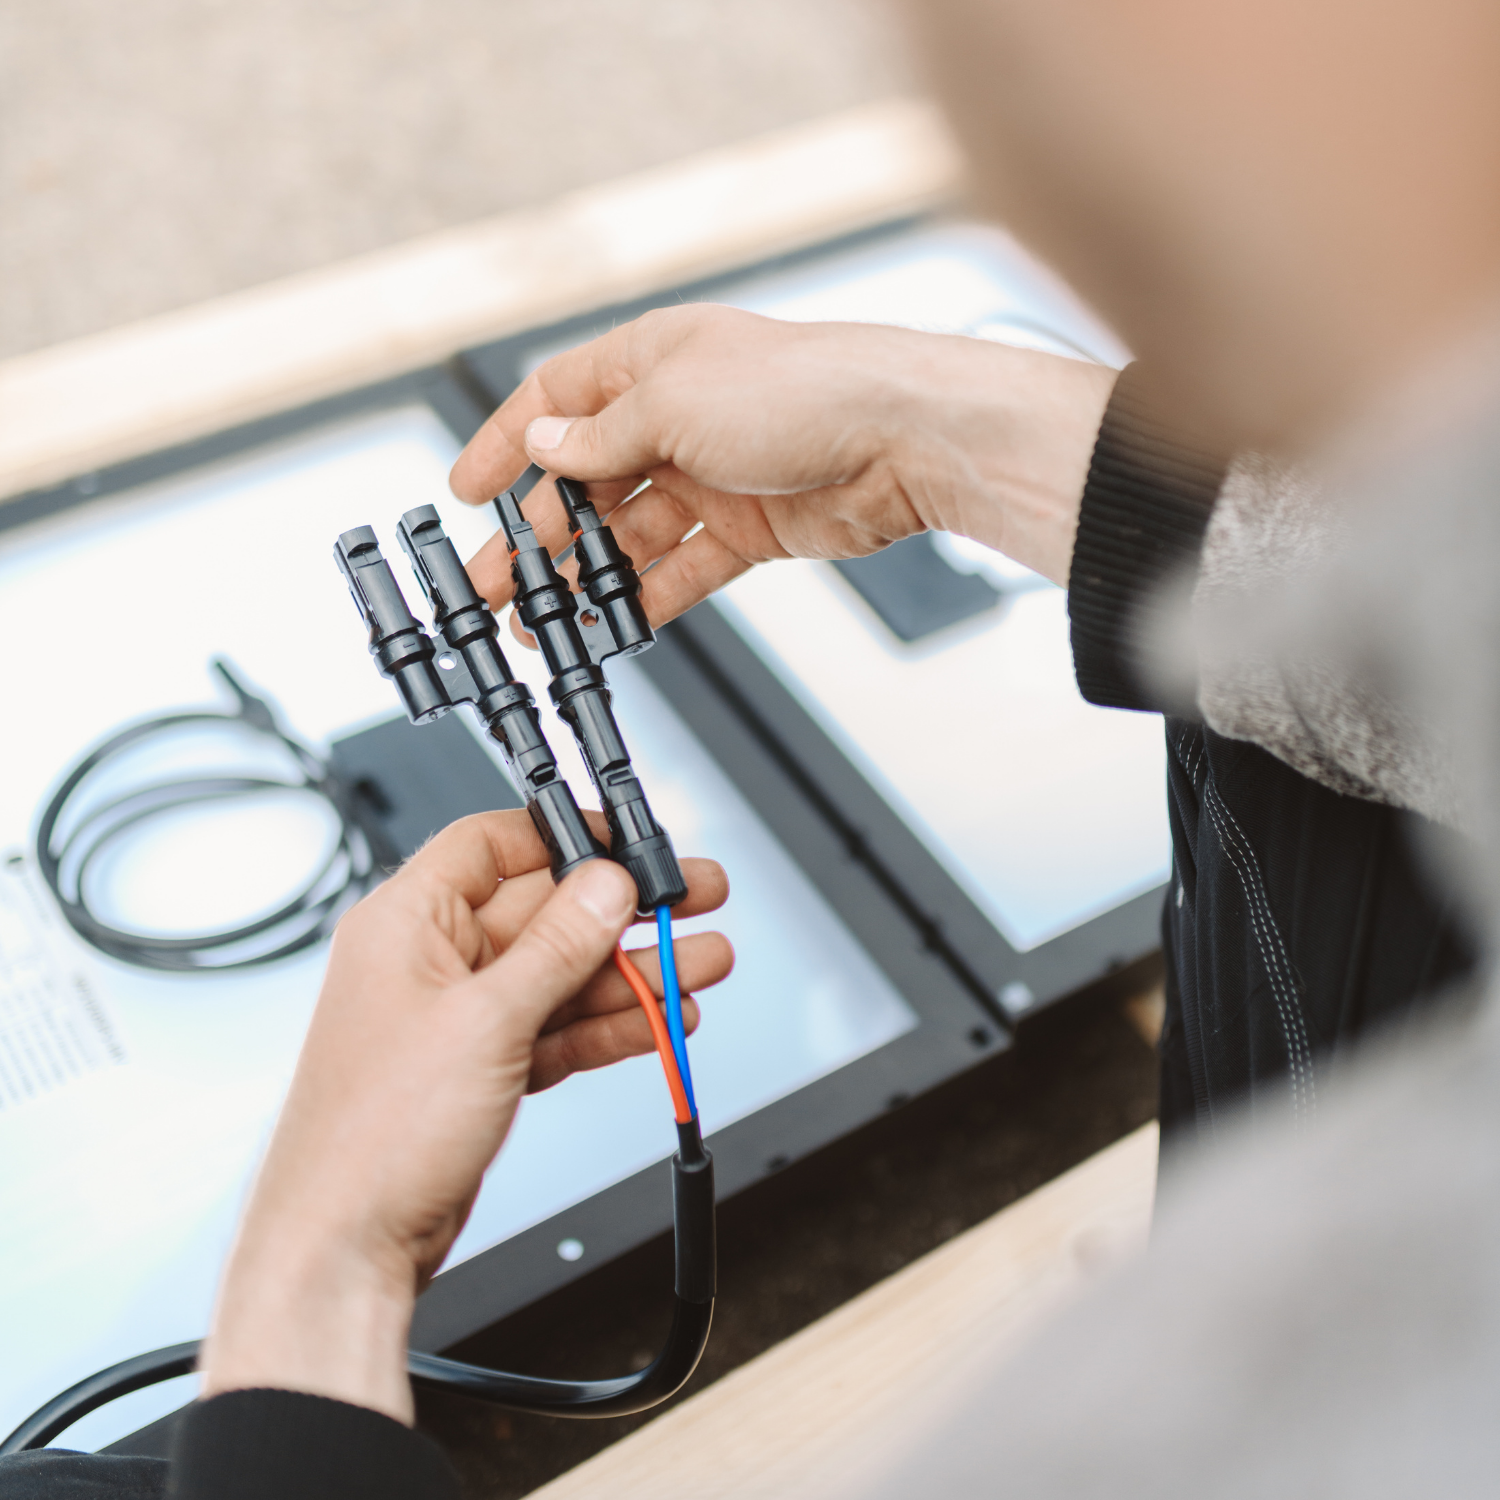
Which cable type is the right one?
- Fine-wire stranded cables are particularly flexible and consist of many thin copper wires. This makes them easy to install in tight radii and ideal for use in vehicles where vibrations and movement can occur.
- Solar cables: These are specially designed for outdoor use and feature particularly robust insulation. This makes them resistant to UV radiation, moisture, oil, and mechanical stress. They are ideal for connecting solar modules to the charge controller, especially when mounted on the vehicle roof.
- High-current cables: These are used when high currents flow—for example, between a battery, inverter, or charging booster. They are usually color-coded (red = +, black = -) and should always be sized appropriately for the current. Make sure they are of high quality, as inferior high-current cables can quickly become a source of danger.
Always install cables in a protected manner – e.g., using cable ducts or corrugated pipe – and ensure that they do not chafe or become kinked.
Security & protective measures – How to protect your system
Proper fuse protection not only protects your equipment, but also yourself in an emergency. A short circuit or overload can lead to dangerous situations – from damaged devices to smoldering cables to even a vehicle fire. Particularly in cables connected directly to the battery, very high currents can flow in the event of a fault. If this line is not interrupted by a suitable fuse, uncontrollable heat buildup can quickly occur. Therefore, every cable directly connected to the battery must be protected with a suitable fuse. In an emergency, this interrupts the flow of current and thus prevents major damage to people and equipment.
What fuses do you need?
- ANM or MIDI fuses are suitable for applications with high currents—for example, when connecting an inverter to a battery. They are robust, reliable, and suitable for currents well over 100 amps. These fuses usually consist of metal strips in sturdy housings and are ideal for use in high-current circuits.
- Blade fuses: These are the typical small plug-in fuses you might already be familiar with from your car. They're ideal for smaller devices like LED lighting circuits, water pumps, or USB sockets. The fuses are easy to replace and are color-coded for different amperages, so you can quickly find the right one for your application.
- Circuit breakers: These reusable fuses automatically trip in the event of an overcurrent and can be easily reset at the push of a button. This is especially useful if you want to react quickly to a fault without having to carry a spare fuse with you every time. Ideal for frequently used or hard-to-reach circuits. But be careful! Never reactivate the fuse without investigating the cause.
🔧 Tip: The fuse should be installed as close to the battery as possible! It protects not only the connected device, but especially the cable.
Disconnect switch – the emergency stop for your system
A circuit breaker interrupts the connection between the battery and the electrical circuit. It's essential for maintenance, safety, and emergencies. Place it in an easily accessible location—for example, near the vehicle's entrance.
Fire protection & avoid overloading
The risk of overheating increases, especially with powerful current collectors or long cable runs. Therefore, safety first!
How to prevent cable fires
- Pay attention to secure connections
- Check screw connections regularly (vibrations!)
- Lay cables neatly and protect them from heat, moisture and chafing
- Do not use multiple sockets in damp areas
- Make sure that there is no oil on the eyelet, for example
Avoid overcharging – protect your battery
- Use intelligent charge controllers (e.g. MPPT) with overcharge protection
- Use batteries with integrated BMS , especially lithium batteries
- Pay attention to the maximum permissible charging voltage of the battery and the correct setting of the charging electronics
🔧 Tip: If you want to be on the safe side, have your installation checked by a specialist – especially when it comes to high-current components.
Your safety checklist for electrical installation
✅ Cable cross-section correctly calculated and selected to match the cable length
✅ All main lines are protected with appropriate fuses
✅ Disconnector mounted easily accessible
✅ Cables laid in a protected manner (e.g. corrugated pipe, distance from hot and sharp-edged surfaces)
✅ Connections are tight, clean and regularly checked
✅ No loose connections or improvised cable runs
✅ All components are coordinated (e.g. fuse, cable, device)
Safety protects – your vehicle, your technology, your journey
No matter how powerful your solar system is or how large your battery capacity is, if the wiring is incorrectly dimensioned or the necessary protective measures are missing, the consequences can be serious. From gradual voltage drops and sudden outages to dangerous short circuits or fires: Inadequate protection is one of the greatest safety risks in self-sufficient power systems.
A secure power supply therefore begins with proper planning. This includes a correctly calculated cable cross-section, tailored to the current and cable length, as well as high-quality fuses, circuit breakers, and a cleanly constructed overall system. By working carefully here or seeking professional advice, you lay the foundation for a reliable, long-lasting, and, above all, safe power supply on the go.
Part 7 gets down to business: We'll show you how to put together a complete system based on your requirements – including component selection, price overview, and installation tips.
Stay tuned – we’ll get you through the season safely and independently!