Are you ready to Balcony power plant and generate your own electricity? This guide will guide you step-by-step through the installation process. From initial preparation to successful commissioning – here you'll learn everything you need to know to successfully launch your own balcony power plant. Ready to harness the sun's energy and save a lot of electricity? Then let's get started right away!
1. Installation of the balcony hook set:
- Measuring and planning: First, measure the height of your balcony railing to determine the ideal location for the hook. You can find the exact settings and measurements in the video below.
- Apply the protective film: Now carefully apply the protective film to the hook. This will protect your balcony railing and ensure a long-lasting installation.
- Attach the hook: Now attach the hook to the previously determined location. Use the included screws and nuts to securely mount everything.
- Prepare the solar panel: Use the included accessories to mark the mounting points on a solar panel and attach the end clamps. Tighten the screws to securely fasten both the end clamp and the bottom and top ends of the mount.
2. Installing the PowerStream from EcoFlow:
- Wall mounting: Select a wall near your solar panels for the PowerStream. The spot should be covered or, ideally, indoors. Screw the included mounting plate to the PowerStream and then drill two holes in the wall to securely mount the PowerStream.
3. Setting up the EcoFlow PowerStream:
- Wiring: Plug the BKW solar cable into the PowerStream's PV connector. Ensure that the open-circuit voltage of each solar module is between 11 V and 55 V and does not exceed 13 A. Connect the PowerStream's connection cable to the solar modules.
4. Optional: Connect the PowerStation:
-
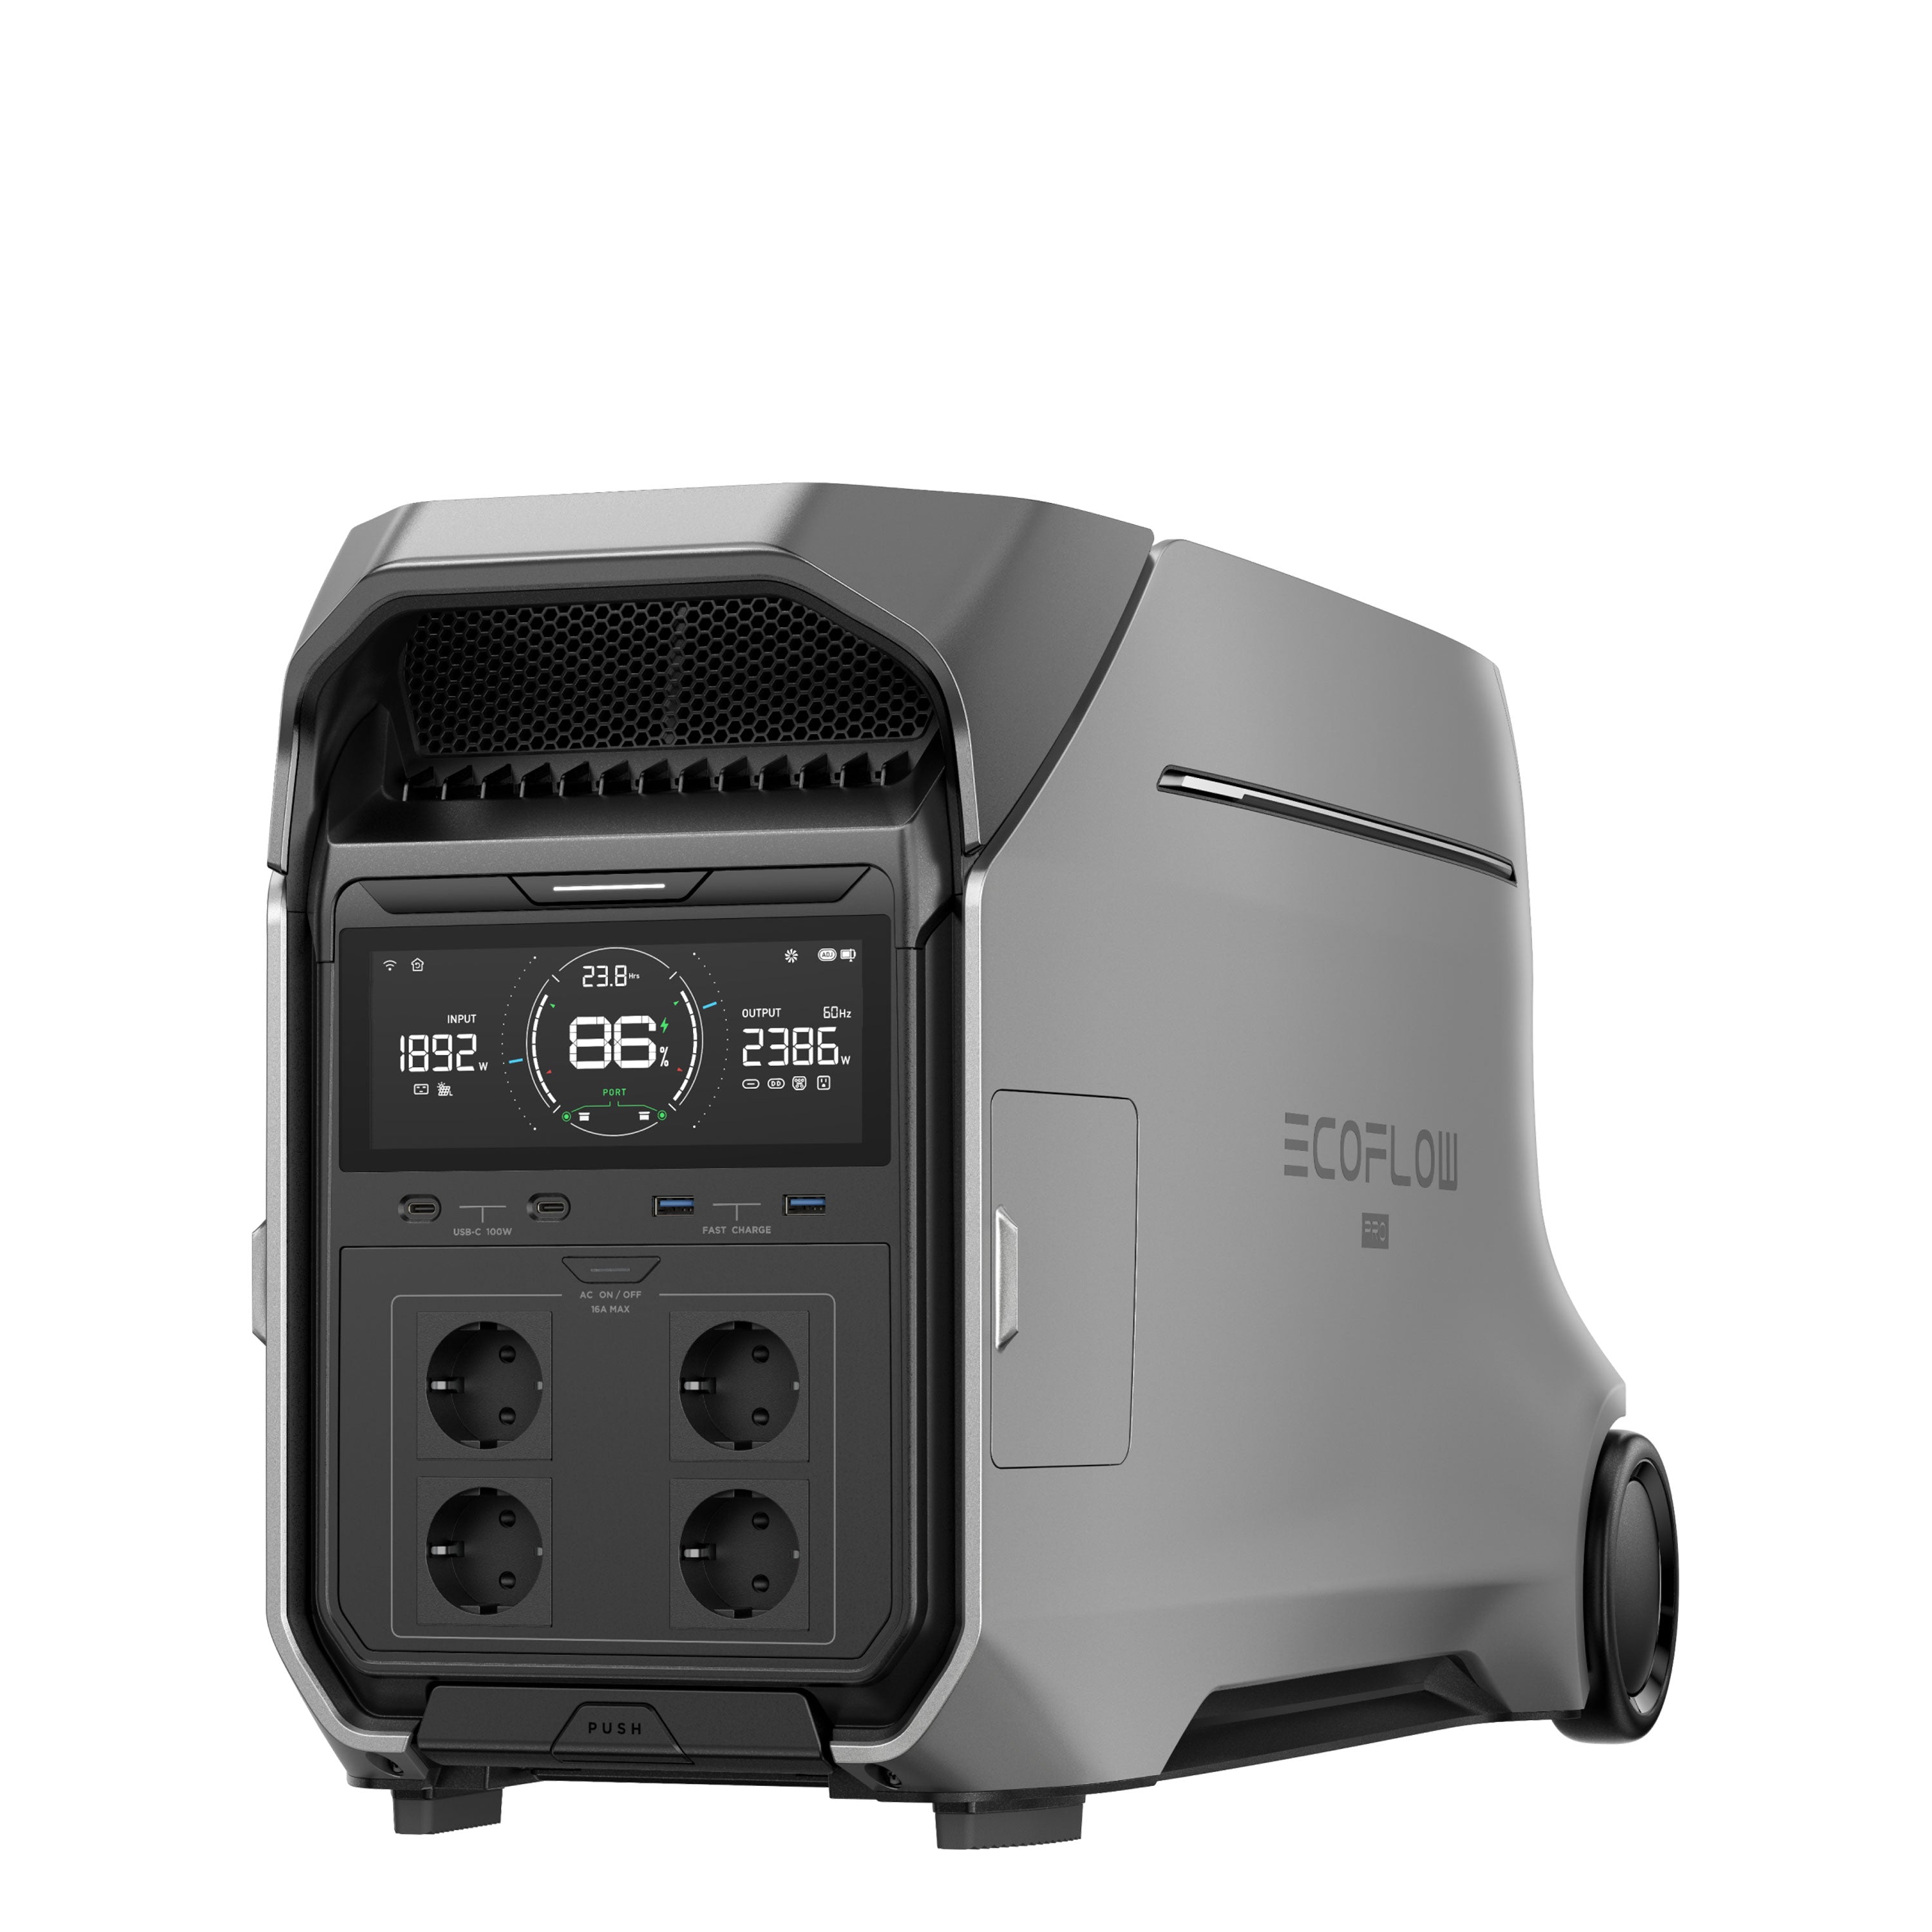
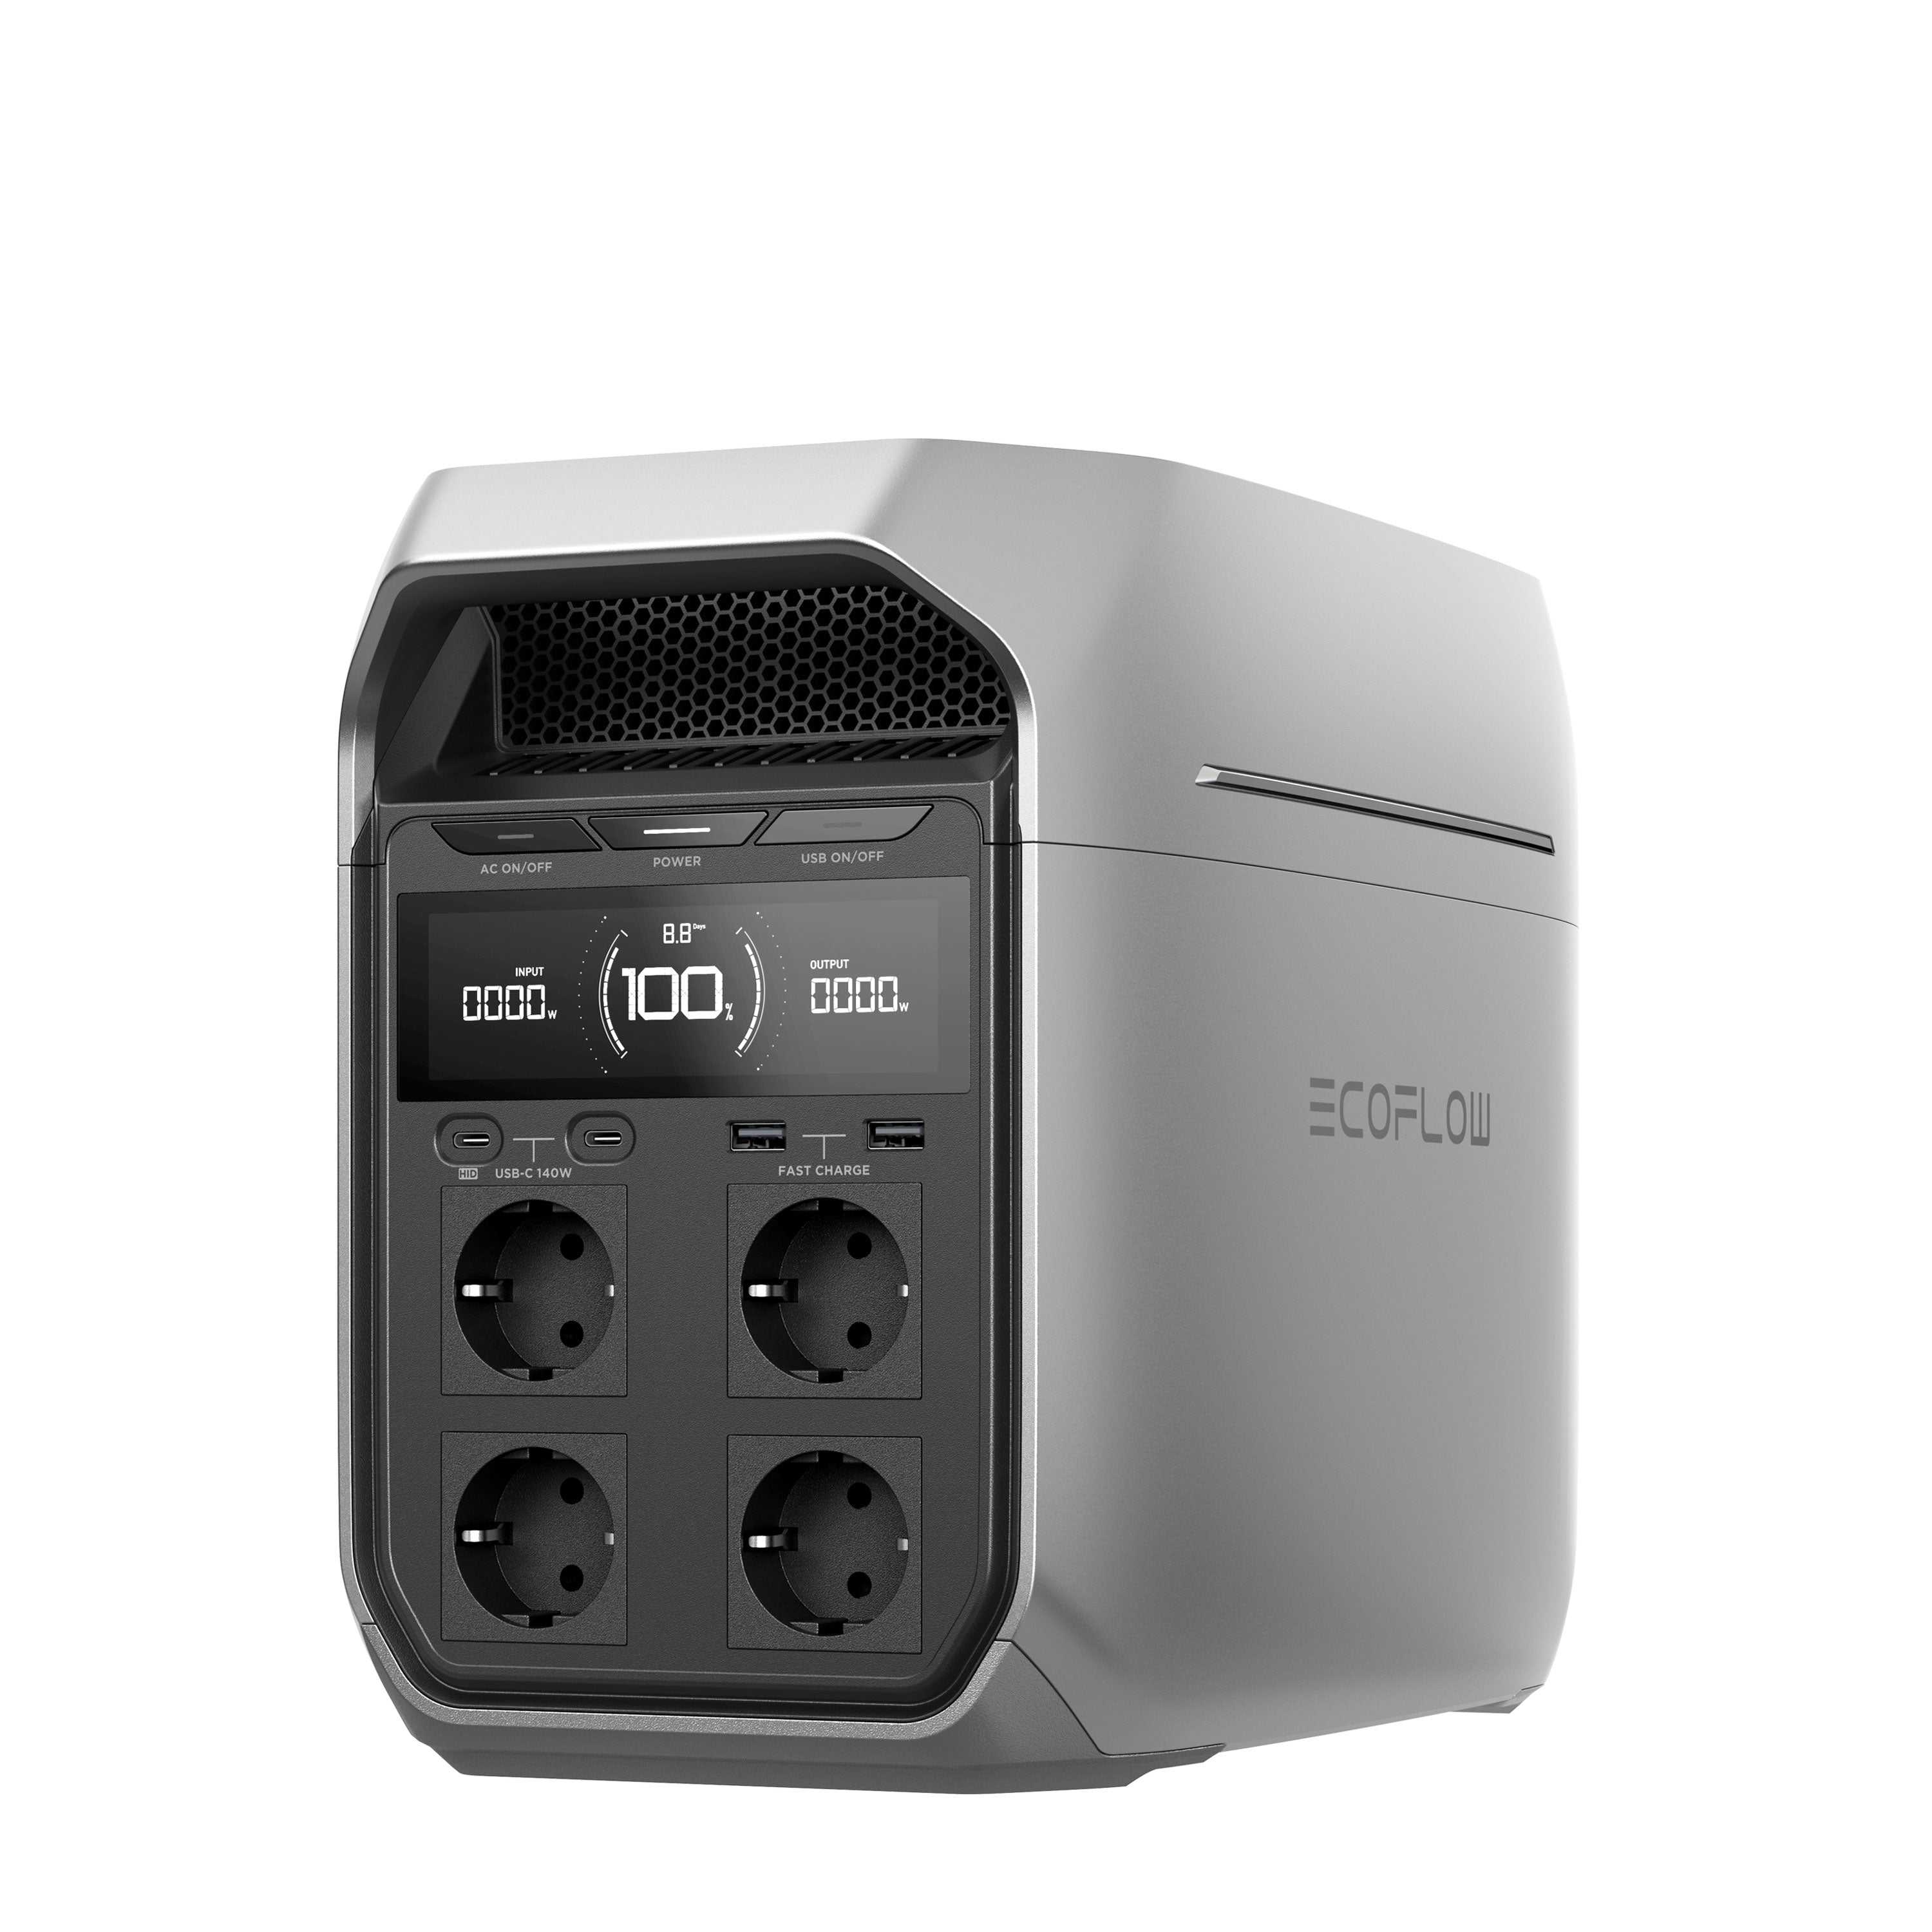
Safety precautions: Ensure the power station is turned off. Connect the battery cable to the PowerStream's battery connector and the power station's auxiliary battery connector. Use the vehicle power cable to connect a DELTA PRO or River Series power station. Route the ribbon cables through windows or doors to establish a connection without placing the power station outdoors.
5. Commissioning of the balcony power plant:
-
Connect the power supply: Use the BKW AC cable to connect the inverter's AC output to an AC outlet. Turn on your power station if you have one. As soon as the microinverter's LED indicator lights up, you've done everything correctly and your balcony power station is generating its first electricity.
6. Setting up the EcoFlow app:
-
App installation and setup: Download the EcoFlow app now from the App Store or Google Play Store. Add your device by clicking the plus sign. Make sure your Bluetooth is turned on and, for Android devices, also enable location permission. Connect the app to your Wi-Fi network and follow the instructions to establish the connection. You can now name your balcony power station and track its power production in real time.
7. Installing the SmartPlugs:
- Optimize energy management: If you've decided on SmartPlugs, you can now set them up. Plug the SmartPlug into a power outlet and then plug a device into the SmartPlug. You can now control the device and view the current power consumption using the EcoFlow app.
If you've completed all the steps correctly, you'll be able to see the first electricity generated by your balcony power plant in the app. For visual support and further tips, watch the video linked below. If you have any further questions about balcony power plants or solar energy, please feel free to contact us.
