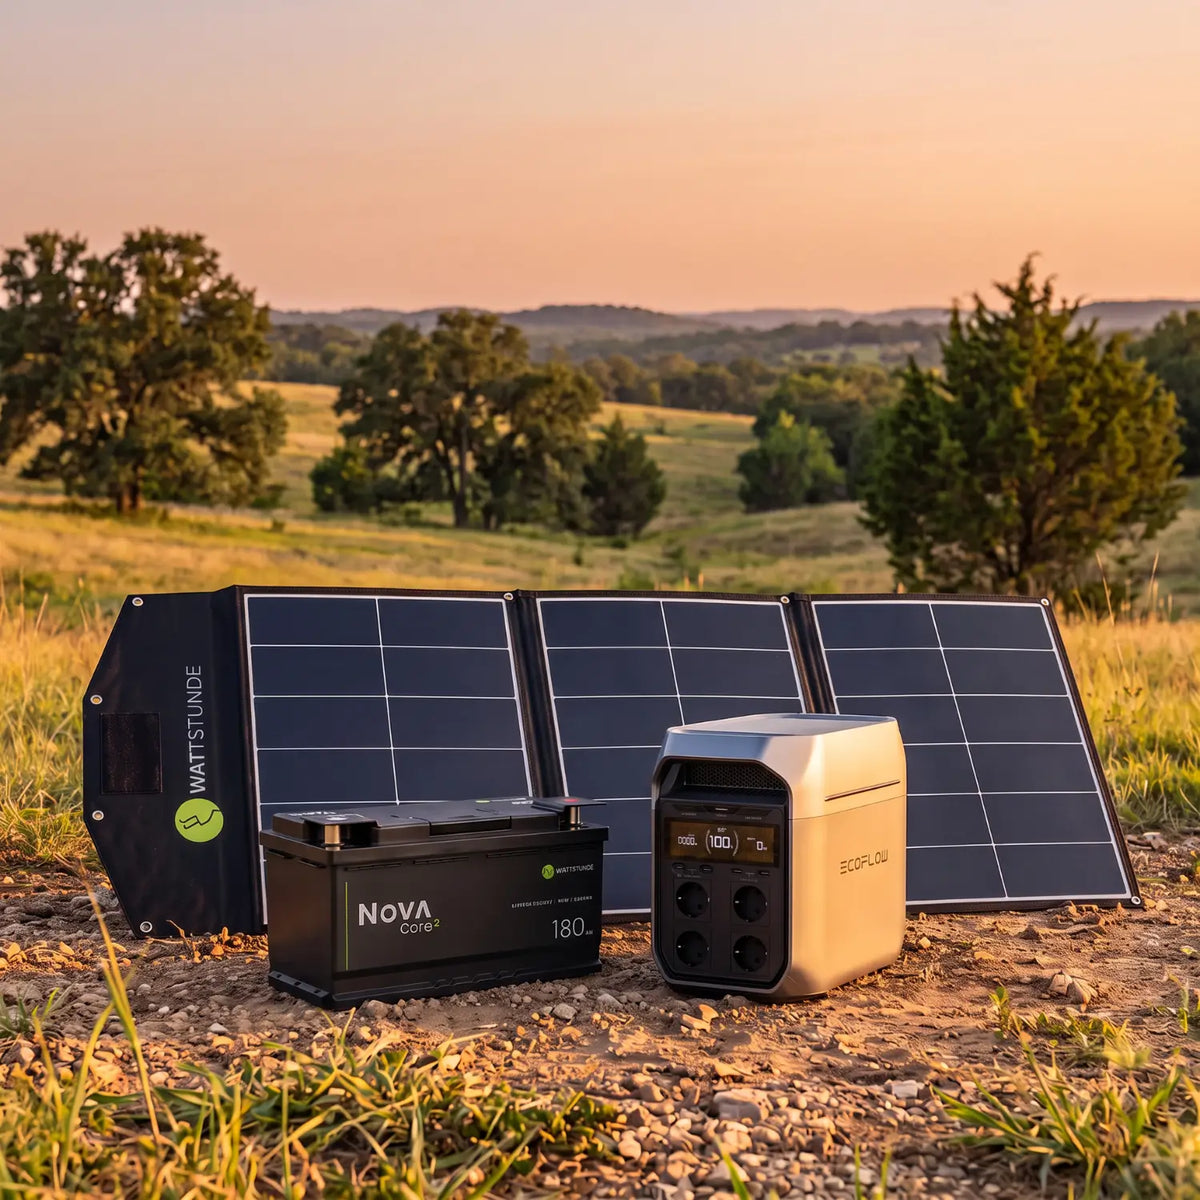
You have a solar bag and want to use solar power easily while on the go. To make sure everything runs not only quickly, but also cleanly and safely, we will show you step by step how to connect your SunFolder either to a battery with a charge controller or directly to a power station.
You should plan approximately 15 minutes for the entire process.
Before you start: Important tips and preparation to save you time later
Before you connect anything, make sure that your solar bag is not currently producing electricity. Leave it folded up during setup so that no sunlight hits the cells.
Then arrange everything so that you can work comfortably.
- The battery should be as exposed as possible so that you can easily access the terminals.
- If you want to use the SunFolder in a vehicle, decide in advance where the charge controller should be placed.
- Ideally, there should be a distance of no more than 1 to 1.5 meters between the charge controller and the battery.
The most important rule for connection
- There is a sequence that you must always follow.
- The charge controller is connected to the battery first and only then to the SunFolder.
- Furthermore: A solar panel must never be connected directly to a battery without a solar charge controller.
- If you follow these two rules, you have already completed the most important part.
What you need: Components at a glance
So that you don't discover you are missing exactly one cable while on the go, here is an overview.
Connection to a battery
- SunFolder incl. connection cable
- Solar charge controller
- Battery connection cable
- Battery
Connection to a power station
- SunFolder incl. connection cable
- Power station
- Adapter cable
Part 1: Connecting the solar bag to a battery
Here you always work with a charge controller. This is your "translator" between the solar bag and the battery and protects your storage battery from overcharging and deep discharge.
Step 1: Connect the battery cable to the charge controller
- You start with the charge controller.
- At the terminals, you will find the battery symbol with plus and minus. There, loosen the screws, insert the cables, and tighten the screws again.
- The sequence when connecting is important.
- First, connect positive to positive, then negative to negative.
- Depending on the model, charge controllers may have different connection terminals instead of screw terminals. The logic remains the same.
Step 2: Connect the battery cable to the battery
- Now connect the battery connection cable to the battery.
- Positive and negative are clearly marked on the battery. You connect positive to positive and negative to negative.
- If you are working with screw terminals, loosen the screw and metal plate, place the metal eyelet of the cable over the thread, press the plate back on, and tighten everything.
- Finally, check that all screws are tight and replace the protective caps.
Step 3: Connect the SunFolder to the charge controller
- Now connect the solar panel to the charge controller.
- The charge controller has a designated input for the solar panel. The same rule applies here: negative to negative and positive to positive.
- Loosen the screws, insert the solar cable, and tighten again.
- Then connect the SunFolder's connection cable to the adapter cable on the charge controller by connecting the Anderson plugs together.
Monitoring: How to view your yields
Once the battery, charge controller, and SunFolder are connected, you can unfold the solar bag and place it at the best angle to the sun.
Depending on the system, you can view the values via an app or on your device's display. The practical advantage is that you can also quickly see which position currently provides the best yield.
Optional: Accessories that give you more convenience on the go
You can also make your solar bag even more suitable for everyday use with a few extras.
Suction cups
With suction cups, you can attach the SunFolder to the windshield. The eyelets are already built into the SunFolder.
Loosen the turn lock, push the suction cup through the eyelet, and close the lock again.
Important to know: Behind the glass, the yield is up to 50% lower.
Security lock
If you want to place the solar bag outside at the optimal angle, you can protect it from theft with a security lock.
Extra connection cable
With an additional or longer connection cable, you can place the solar bag where the sun is best, even if your parking spot is rather shady.
Part 2: Connecting the solar bag to a power station
With a power station, a lot is already integrated. The charge controller, battery, and inverter are usually already built in. Therefore, you only need to connect two components here.
Preparation: What you should check beforehand
Before you connect, check two things:
- First: Does the solar bag's power match the power station's integrated charge controller?
- Second: You need the right adapter cable for your power station's solar input.
Step 1: Connect the SunFolder directly to the power station
- You connect the adapter cable via the plug-and-play system with Anderson plugs to the SunFolder.
- Then you plug the adapter cable into the designated connection on the power station.
- Now unfold the SunFolder, aim it at the sun, and read the yields directly on the power station's display.
Two ways, one goal
- If you want to connect your solar bag to a battery, you always work with a charge controller. Battery first, then SunFolder.
- If you use a power station, you connect the solar bag directly with the right adapter cable.
- Either way: With the right sequence and a little preparation, you will be ready to go in no time.
Bonus: The complete PDF manual for on the go
If you want to have the whole thing as an easy-to-follow step-by-step manual to take with you, you can download the manual now.